Overview
In the dynamic landscape of financial technology, Large Language Models (LLMs) powered by artificial intelligence are emerging as game-changers, offering novel solutions to enhance application reliability and expedite the modernization of large-scale architectures. LLMs, such as GPT-3.5, are advanced AI models trained on vast datasets, enabling them to understand and generate human-like text:
- Overview
- Understanding The Power Of LLM AI
- Enhancing Reliability In Customer Interactions
- Accelerating Modernization
- Automating Backend Processes
- Modernizing Risk Assessment With LLMs
- LLMs In Compliance Automation
- Real-World Implementation
- Empowering Engineering Teams
- Closing Thoughts
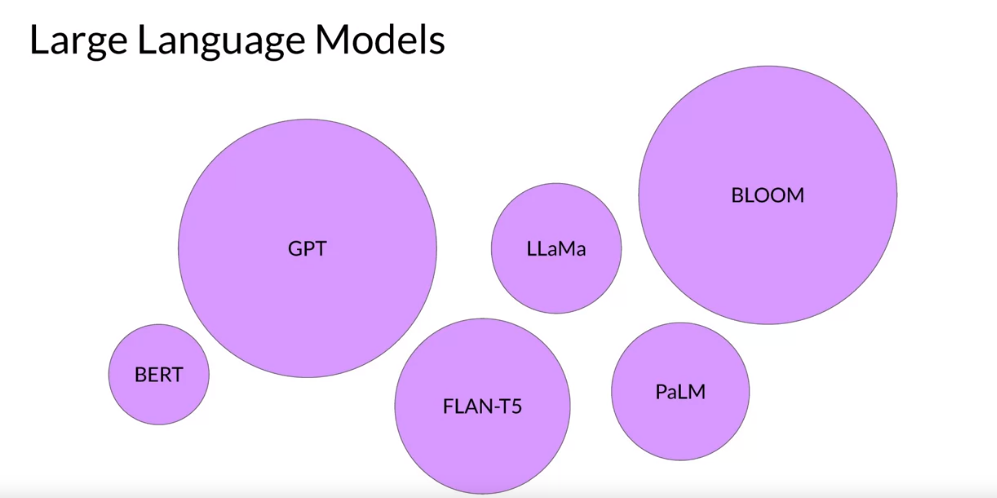
Understanding The Power Of LLM AI
Large Language Models excel in natural language processing tasks, making them versatile tools for applications in the financial sector. Their ability to comprehend context, generate coherent responses, and interpret complex language nuances sets the stage for a paradigm shift in how applications interact with users and process information.
Enhancing Reliability In Customer Interactions

LLMs can significantly improve the reliability of financial applications by streamlining customer interactions, automating responses, and providing intelligent insights. In customer support scenarios, LLMs can handle diverse queries, reducing response times and ensuring consistent and accurate communication. Moreover, their contextual understanding enables them to adapt to user preferences, resulting in a more personalized and reliable user experience.
For instance, BankX, a leading digital bank, has integrated an LLM-powered chatbot into its mobile app. The chatbot assists customers in real-time, addressing inquiries about transactions, providing balance updates, and even offering personalized financial advice. This has not only significantly reduced response times but has also elevated the overall reliability of customer interactions.
Accelerating Modernization
The implementation of LLM AI in financial applications offers a transformative avenue for modernization. Integration with chatbots and virtual assistants can enhance user engagement, while backend processes can benefit from LLM-driven automation.
For instance, LLMs can be employed in data analysis, automating routine tasks, and providing valuable insights for decision-making. This accelerates the pace of modernization initiatives, allowing financial institutions to stay ahead in a rapidly evolving tech landscape.
Automating Backend Processes
LLMs contribute to backend processes, automating routine tasks and providing intelligent insights. XYZ Investments, a global investment firm, employs LLMs in data analysis. These models can parse through vast datasets, identifying trends and anomalies that might go unnoticed by traditional analytics tools. This not only streamlines decision-making processes but also enhances the reliability of risk assessments, a critical aspect of financial operations.
Modernizing Risk Assessment With LLMs
The implementation of LLMs in risk assessment is gaining traction. Acme Insurance, for instance, utilizes LLMs to process complex policy documents and claims. By training the model on historical data, the company has improved the accuracy of risk predictions, reducing instances of fraudulent claims and streamlining the claims processing workflow. This represents a concrete example of how LLMs can modernize and optimize risk assessment processes within the financial sector.
LLMs In Compliance Automation

Ensuring compliance with regulatory standards is a paramount concern for financial institutions.
These models can analyze regulatory documents, keeping the institution abreast of changes and automatically updating internal protocols. This not only ensures compliance but also frees up valuable human resources to focus on more strategic tasks.
Real-World Implementation
Financial institutions can deploy LLMs in various capacities. Chatbots equipped with LLMs can handle customer inquiries, account management, and even offer financial advice. In risk assessment, LLMs can analyze vast datasets to identify patterns and anomalies, contributing to more robust security protocols. Moreover, LLMs can assist in automating compliance procedures, ensuring adherence to regulatory standards.
Empowering Engineering Teams

For engineering teams, LLMs represent a powerful tool for accelerating development cycles. By leveraging pre-trained models, teams can quickly prototype and deploy applications. Fine-tuning LLMs to specific financial domains enhances their relevance and effectiveness, aligning them closely with institutional objectives.
Closing Thoughts

In conclusion, the integration of LLM AI into financial applications stands as a beacon of innovation, promising heightened reliability and accelerated modernization. As financial institutions embrace these technologies, they position themselves at the forefront of a transformative wave, redefining the standards for user experience, efficiency, and adaptability in the financial technology landscape.